Practicality is one of my strengths and one of my
weaknesses. I seem to dismiss things so quickly with a “what
purpose does that really serve?” I'm glad that I let my creative corner of the brain take over momentarily. I was one of the hostesses for
a friend’s baby shower recently. This was to be her third child, but her first girl.
The mom-to-be is rather practical-minded as well, so I wanted to come up with a
guest book that could be more than just a list of names or an alibi for
someone’s whereabouts from 7-9 pm on the day in question.
As her mother’s closest friends, I thought we
could all write a message to the baby that she could enjoy when she got older –
something funny like how to deal with big brothers or something sweet like
looking forward to meeting her. The book had to be unique and not
over-the-top pink, so I went to work with the following items that I had on
hand:
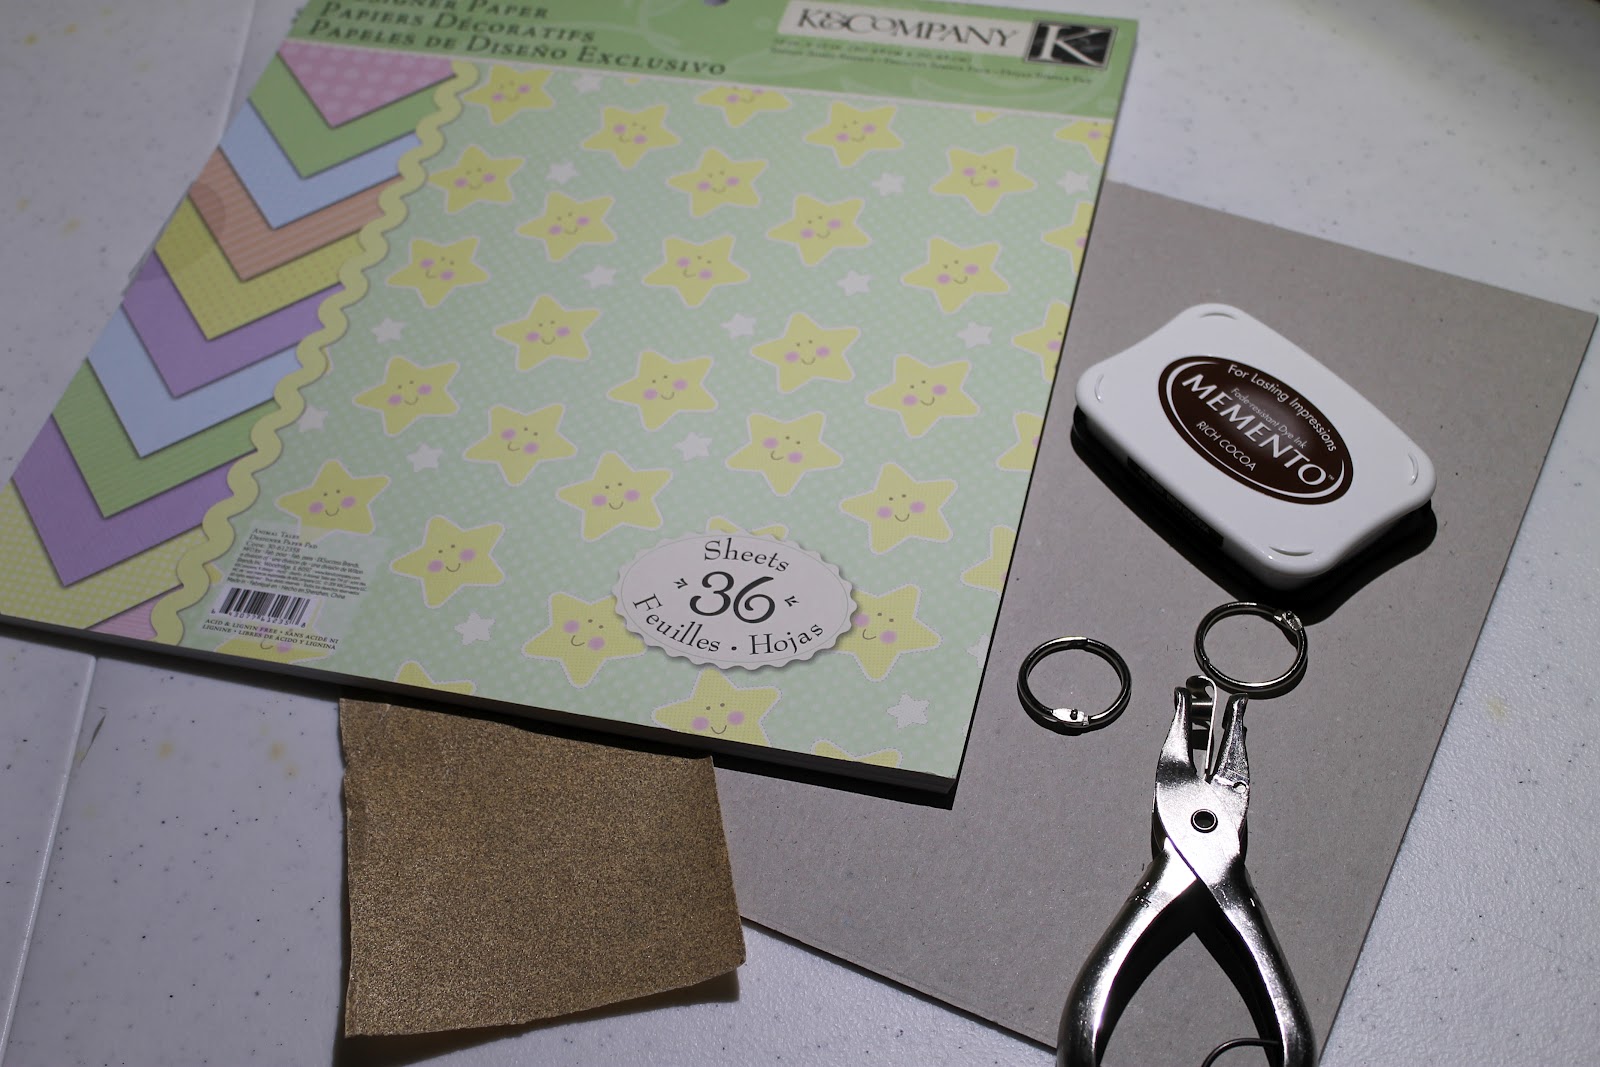
Basic Materials:
11 x 17 piece of cardboard, 1/16” thick
(scavenged from the workplace)
Pastel/Baby patterned paper, 12” x 12”
Hole punch
Fine sandpaper
Brown Ink
Embellishments:
“This Book Belongs To:” rubber stamp
Vellum (for quotes)
Extra baby stickers
Extra cupcake topper*
I did have to purchase the binder rings used to
bind the book. They can be found anywhere that sells office
supplies. Be sure that you get rings that will have the diameter to
accommodate the thickness of your final product and not be too tight.
This book was 1/2” tall
containing 36 pages, and I used a 1”
diameter set of rings.
I wasn’t sure that my Fiskars paper trimmer could
handle cutting the cardboard, but I was able to cut on one side, then
flip it over and cut again. I cut two 4”x6” pieces of the
cardboard for the front and back covers. I selected the pale pink
stripe as the cover pattern. I cut four 4”x6” pieces of the paper, making
sure that the stripes would be vertical for the finished product. I
attached the pink paper to the front and back of each cardboard piece.
Now for the hard part.
Turning one cover vertically, I measured from the
top 1.5” and from the left side .5” and penciled a small dot. I
repeated from the bottom, and then again on the other piece of cardboard.
Using the hole punch, I centered on the dot and made an indention onto
the paper and cardboard. I then called for the strong man of the house to
complete the task. He was able to muscle the hole punch and get all four
holes punched, but I recommend eye protection next time. There is
probably a better tool out there, but I was making do with what I had
available. A lighter weight cardboard could also be used, but, hey, I
couldn’t beat the price. Feel free to leave a comment/suggestion.

Next I cut out the pages for the book. I
used all of the colors available in the pack just to make it fun. I cut
four pages of each, 3 15/16 “ x 5 15/16”
so they would be just smaller than the covers and then rounded two
corners. I have a total of 36 pages, but adjust according to the number
of folks attending as you see fit.
Now it is time to punch the pages. Using
one page with one of the covers, line up the page on the side where the holes
are and punch through the cover and the page. Now you have a template to
use for the remaining pages. If you have access to an adjustable
three-hole or two-hole punch, that will probably go a lot faster than the
single hole punch I used.
To make your own baby quotes is really
simple. Just type them up in a Word document with the font of your
choosing and print it out using vellum. Punch or cut out the quote. Be
sure to use adhesive specifically for vellum when attaching to paper so it
won’t show through.
Now that all of the pieces are ready, it is time
for the fun stuff.
First, I used the sandpaper to scuff the edges
and round the outer corners of the covers. Next I inked the edges of the
covers lightly.
I also inked the extra cupcake topper and attached
it to the front cover. (You could use any kind of chipboard sticker or
decoration) Now you just put the rings through holes of the back cover,
the pages, and finally the front cover. I had a bookplate stamp, so I
used it on the inside of the front cover.
Place a few baby quotes, stickers, and stamped images on
random pages and you have a one-of-a-kind baby shower guest book!
* Cupcake toppers instructions found here.